


Experimenting with Cyanotypes
What I did and how it went.

This post is all about my first experience of creating cyanotype prints, including the methods and techniques I experimented with and how it all turned out. I share the challenges I faced and what I would do differently next time. I hope you enjoy reading this post.
‘Cyanotype photography is a camera-less technique that involves laying an object on paper coated with a solution of iron salts before exposing it to UV light and washing with water to create stunning white and Prussian blue images.’ Kew Gardens, Cyanotypes, The Origins of Photography.
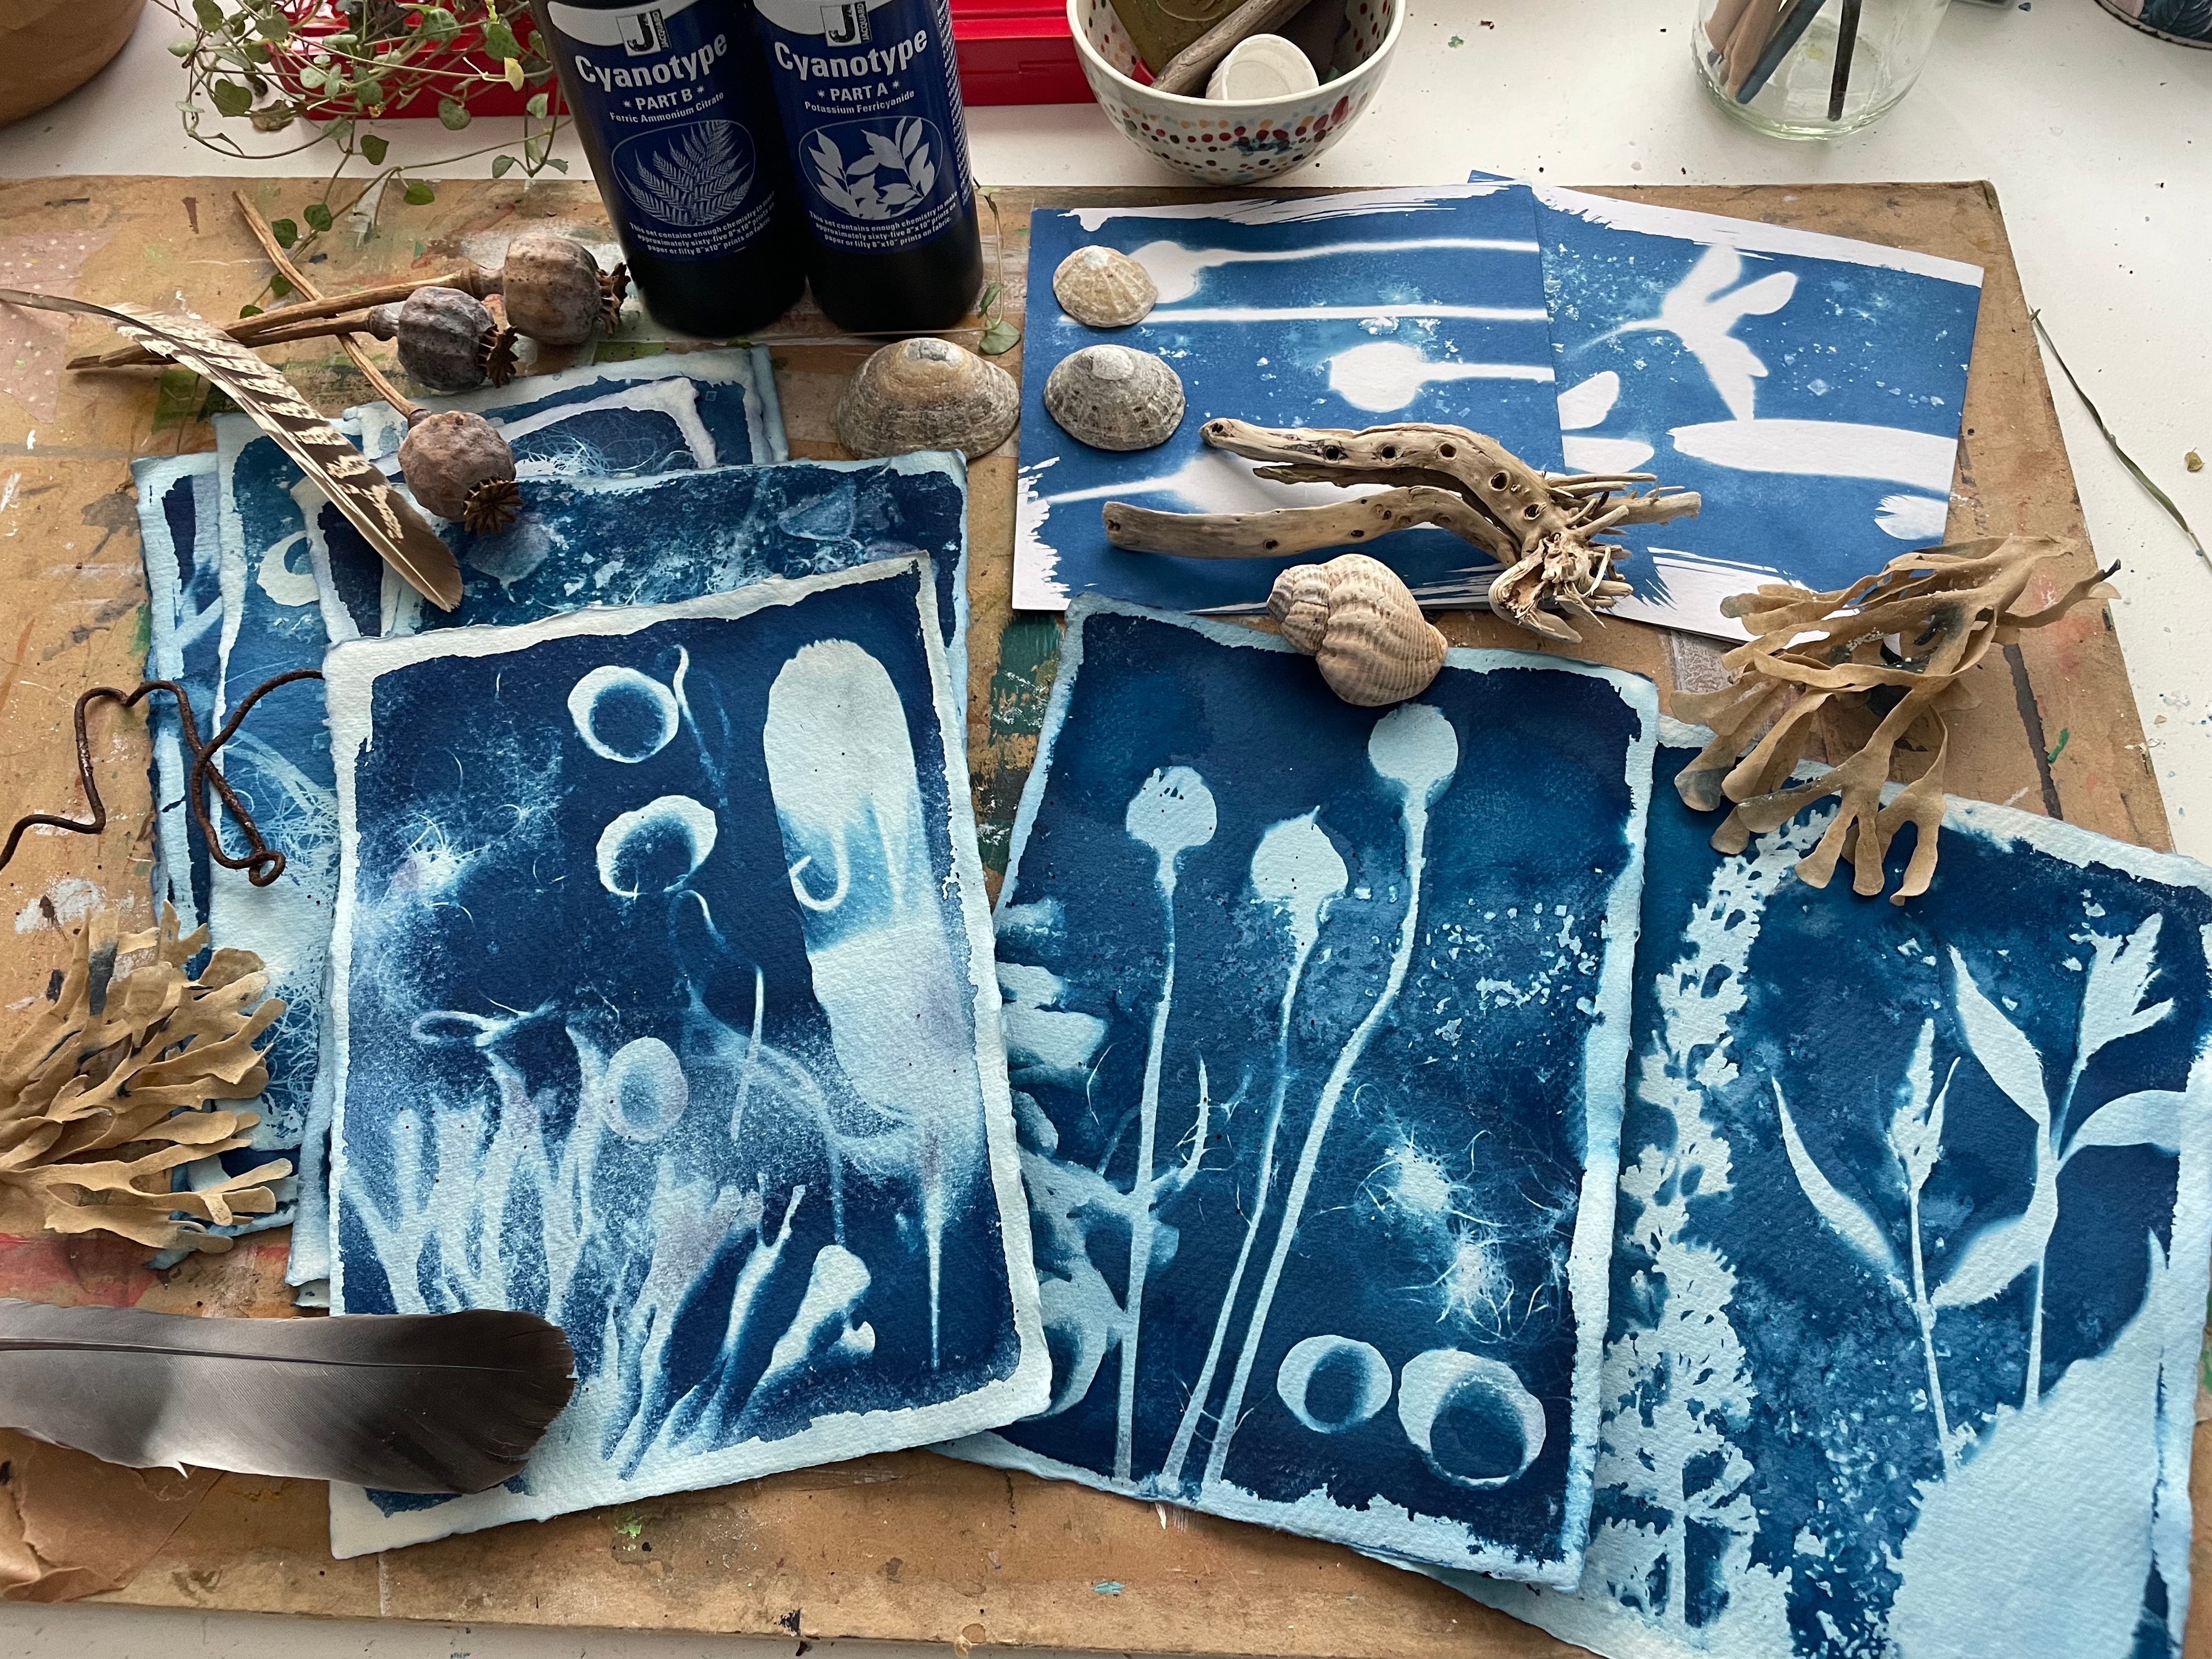
Cyanotype chemicals come in two bottles, and the instructions are relatively simple. Each bottle contains a dry powder which needs to be mixed with water. This mixture must be prepared 24 hours in advance of the next step.
Equal quantities of the liquid chemicals should be mixed into a new container, and then this solution can be painted onto papers for creating the prints. You can also apply the chemical to fabrics. I chose to use cotton khadi papers, a recycled cotton, and handmade paper. I love the texture and rough edges of this paper, and I appreciate how it looks with the roughly painted effect you can achieve using the cyanotype chemicals.
The papers need to be painted in a darkened room and left to dry completely. I used the photography darkroom at my school for this, but at home, I could lay down plastic sheeting and use our windowless cloakroom or the airing cupboard as a mock-up darkroom. The papers should be left overnight to dry.
Fortunately, the chemicals have a long shelf life, so only a small amount of chemical solution is needed for preparing the papers. I prepared lots of paper but soon realised that creating a good cyanotype print takes time and this isn’t the quick process I had first imagined.
The chemicals appear yellowy-green when wet, but once dry, it turns a grey hue. I could see the brush strokes and some areas where I had applied the chemical unevenly. This unevenness affected the quality of my print, so a bit of practice is definitely needed here.
Keeping my dry papers in a thick black plastic bag to protect them from light, I was ready to experiment.
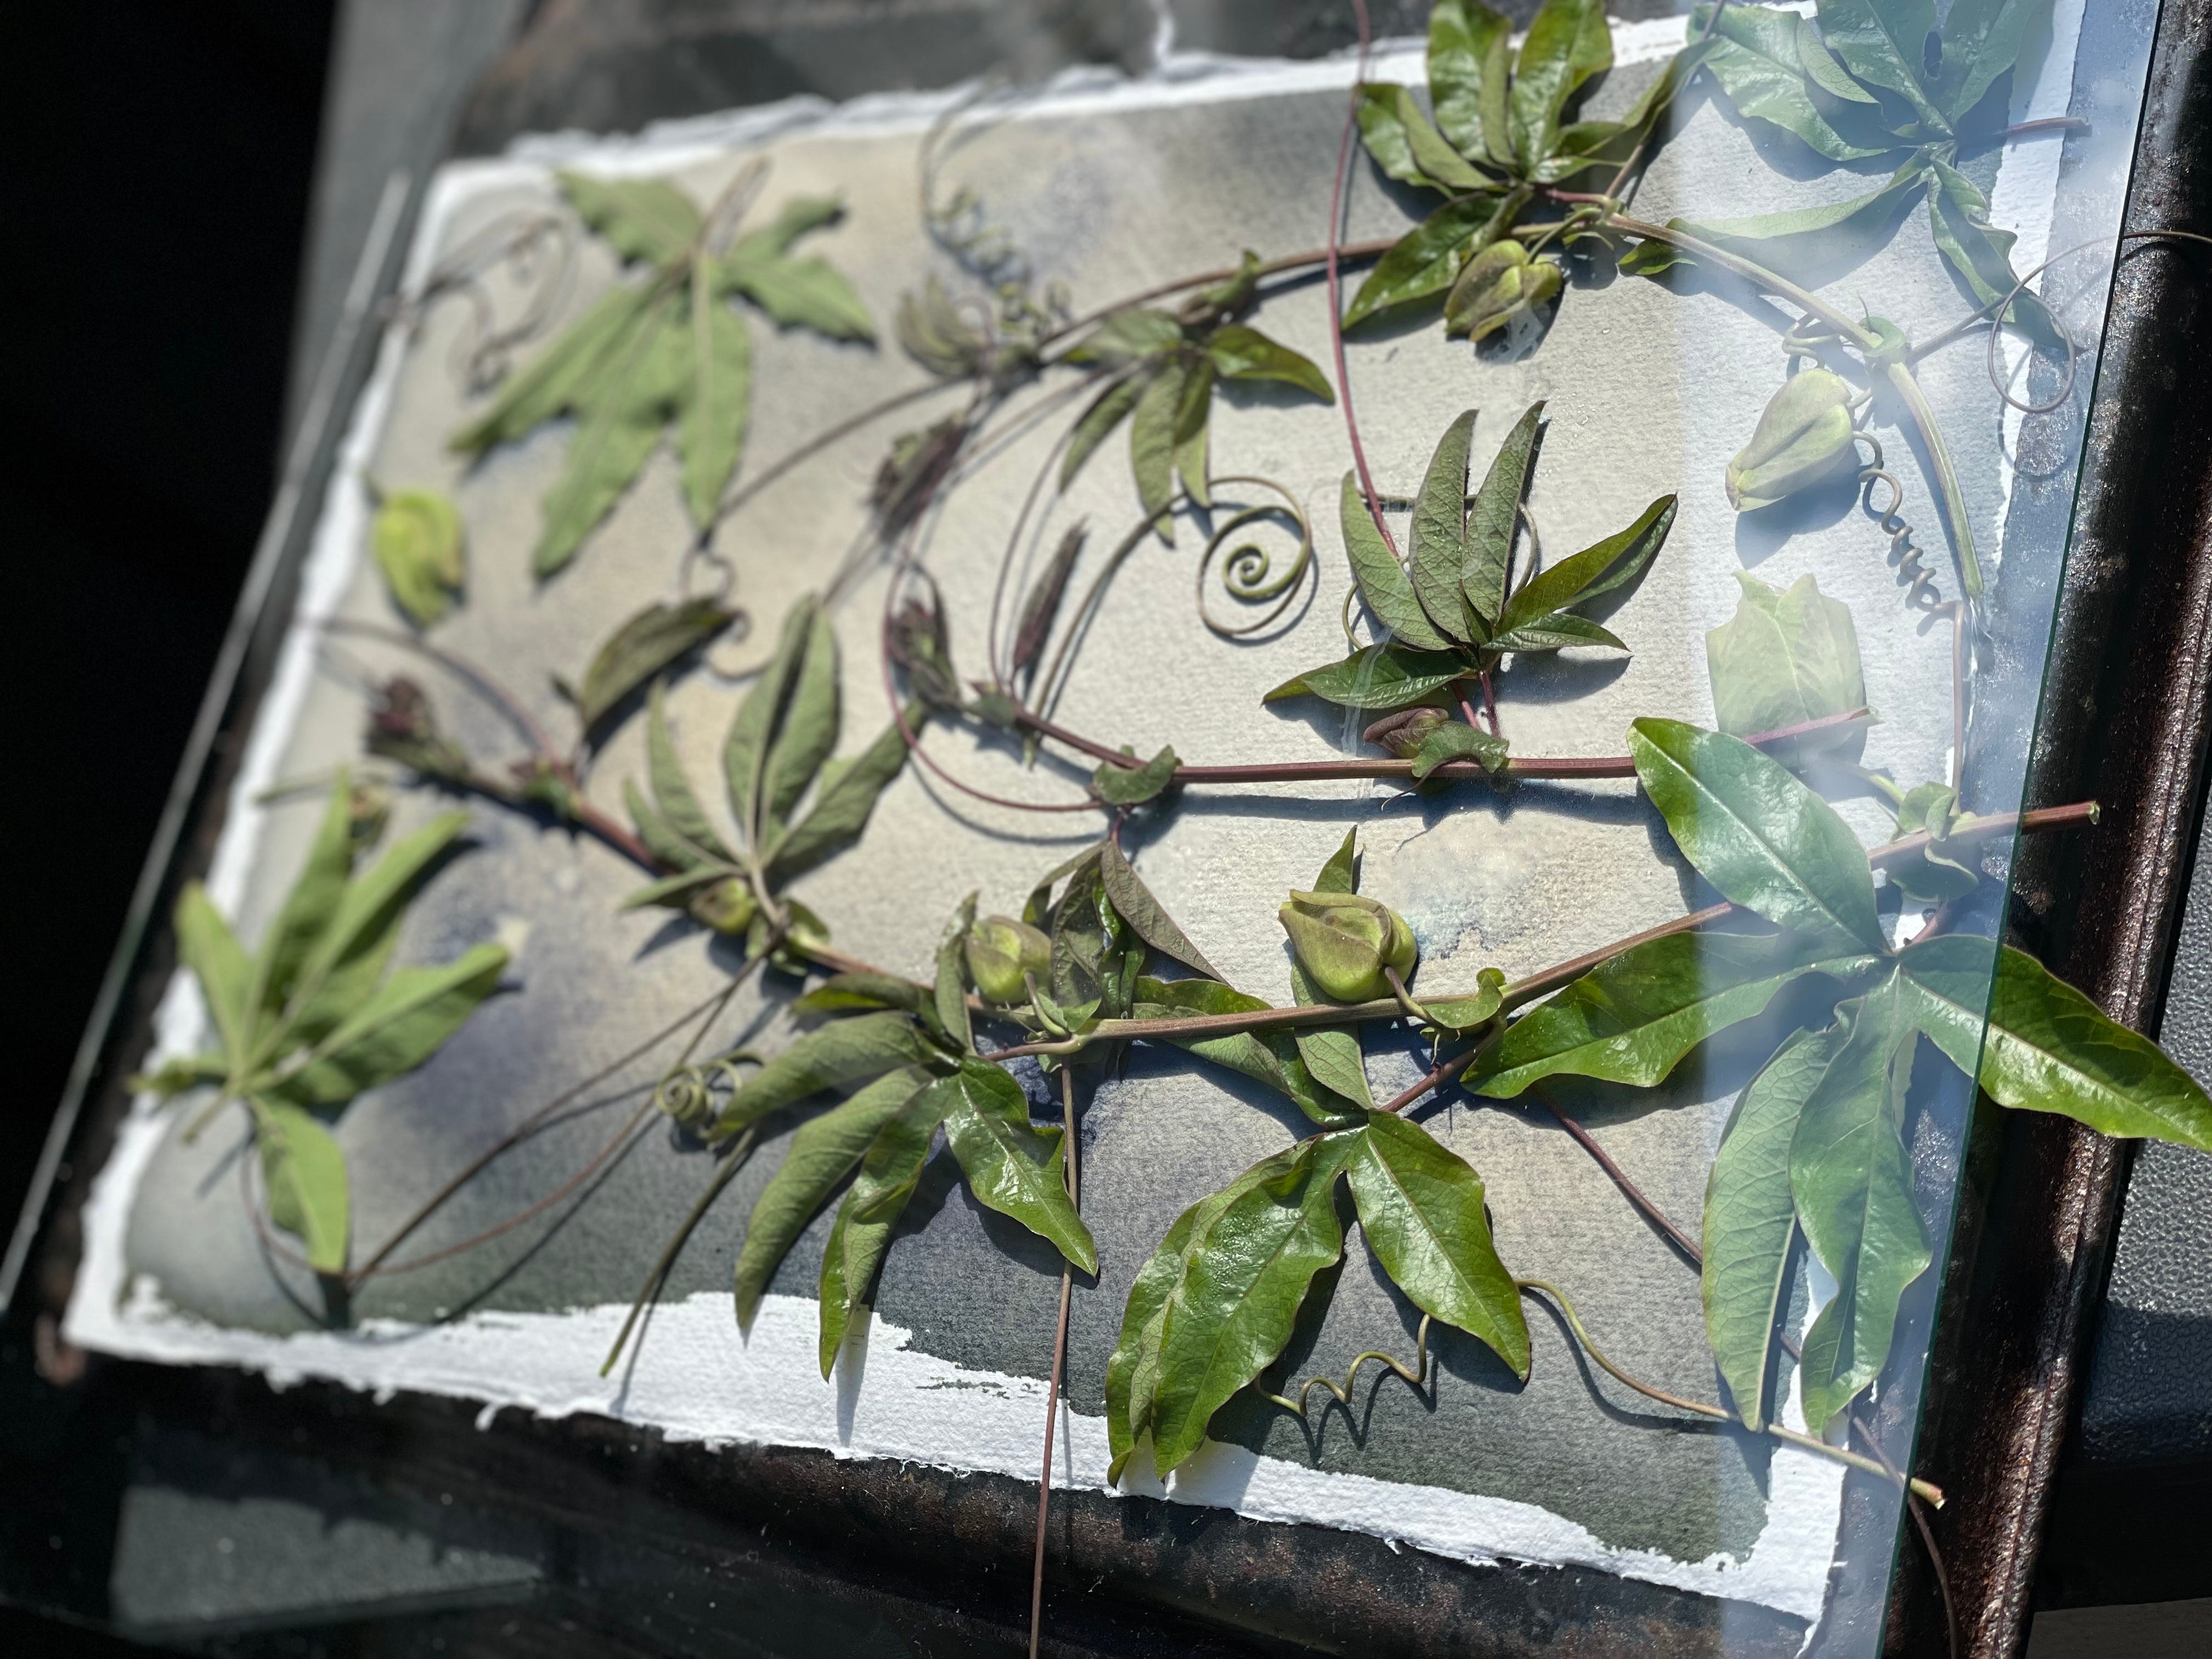
I decided to start with a trailing passion flower, with its curly tendrils, little flower buds and starlike leaves. I was really pleaded with my first prints! I used as sheet of glass to hold the plant material down onto the paper and left it in the sun to expose for over 10 minutes.
The exposed prints were then submerged into a water bath. They took quite a while to develop, and I found I had to keep rinsing them, as yellow chemical remained for quite some time. Overall, I was very pleased with the results.
Even on a very bright July day, I found that the prints still needed plenty of time in the sunshine. I rushed a few early on, worried that they would become overexposed, and the outcomes were not great as a result. I ended up with some faded, washed-out prints and initially assumed that this was due to the brightness of the sun causing overexposure. However, I realised that shortening the exposure time further didn’t help; in fact, the prints hadn’t received enough sunlight.
The best prints were exposed to full sunlight for 10 minute or more. I’ve since read that some people expose their prints to hours of light. While I can’t confirm whether that’s the best method, I am pleased to say that it’s safe to leave them outside for a good while. It’s also possible to create prints on a cloudy day; just remember to lengthen the exposure time.
The water bath is a simple tray of water under a running tap, to keep the water moving. Apparently, adding a splash of hydrogen peroxide to the water bath after the print is fully developed will enhance the blue hue and brighten the print. I haven’t tried this yet, but plan to give it a go next.
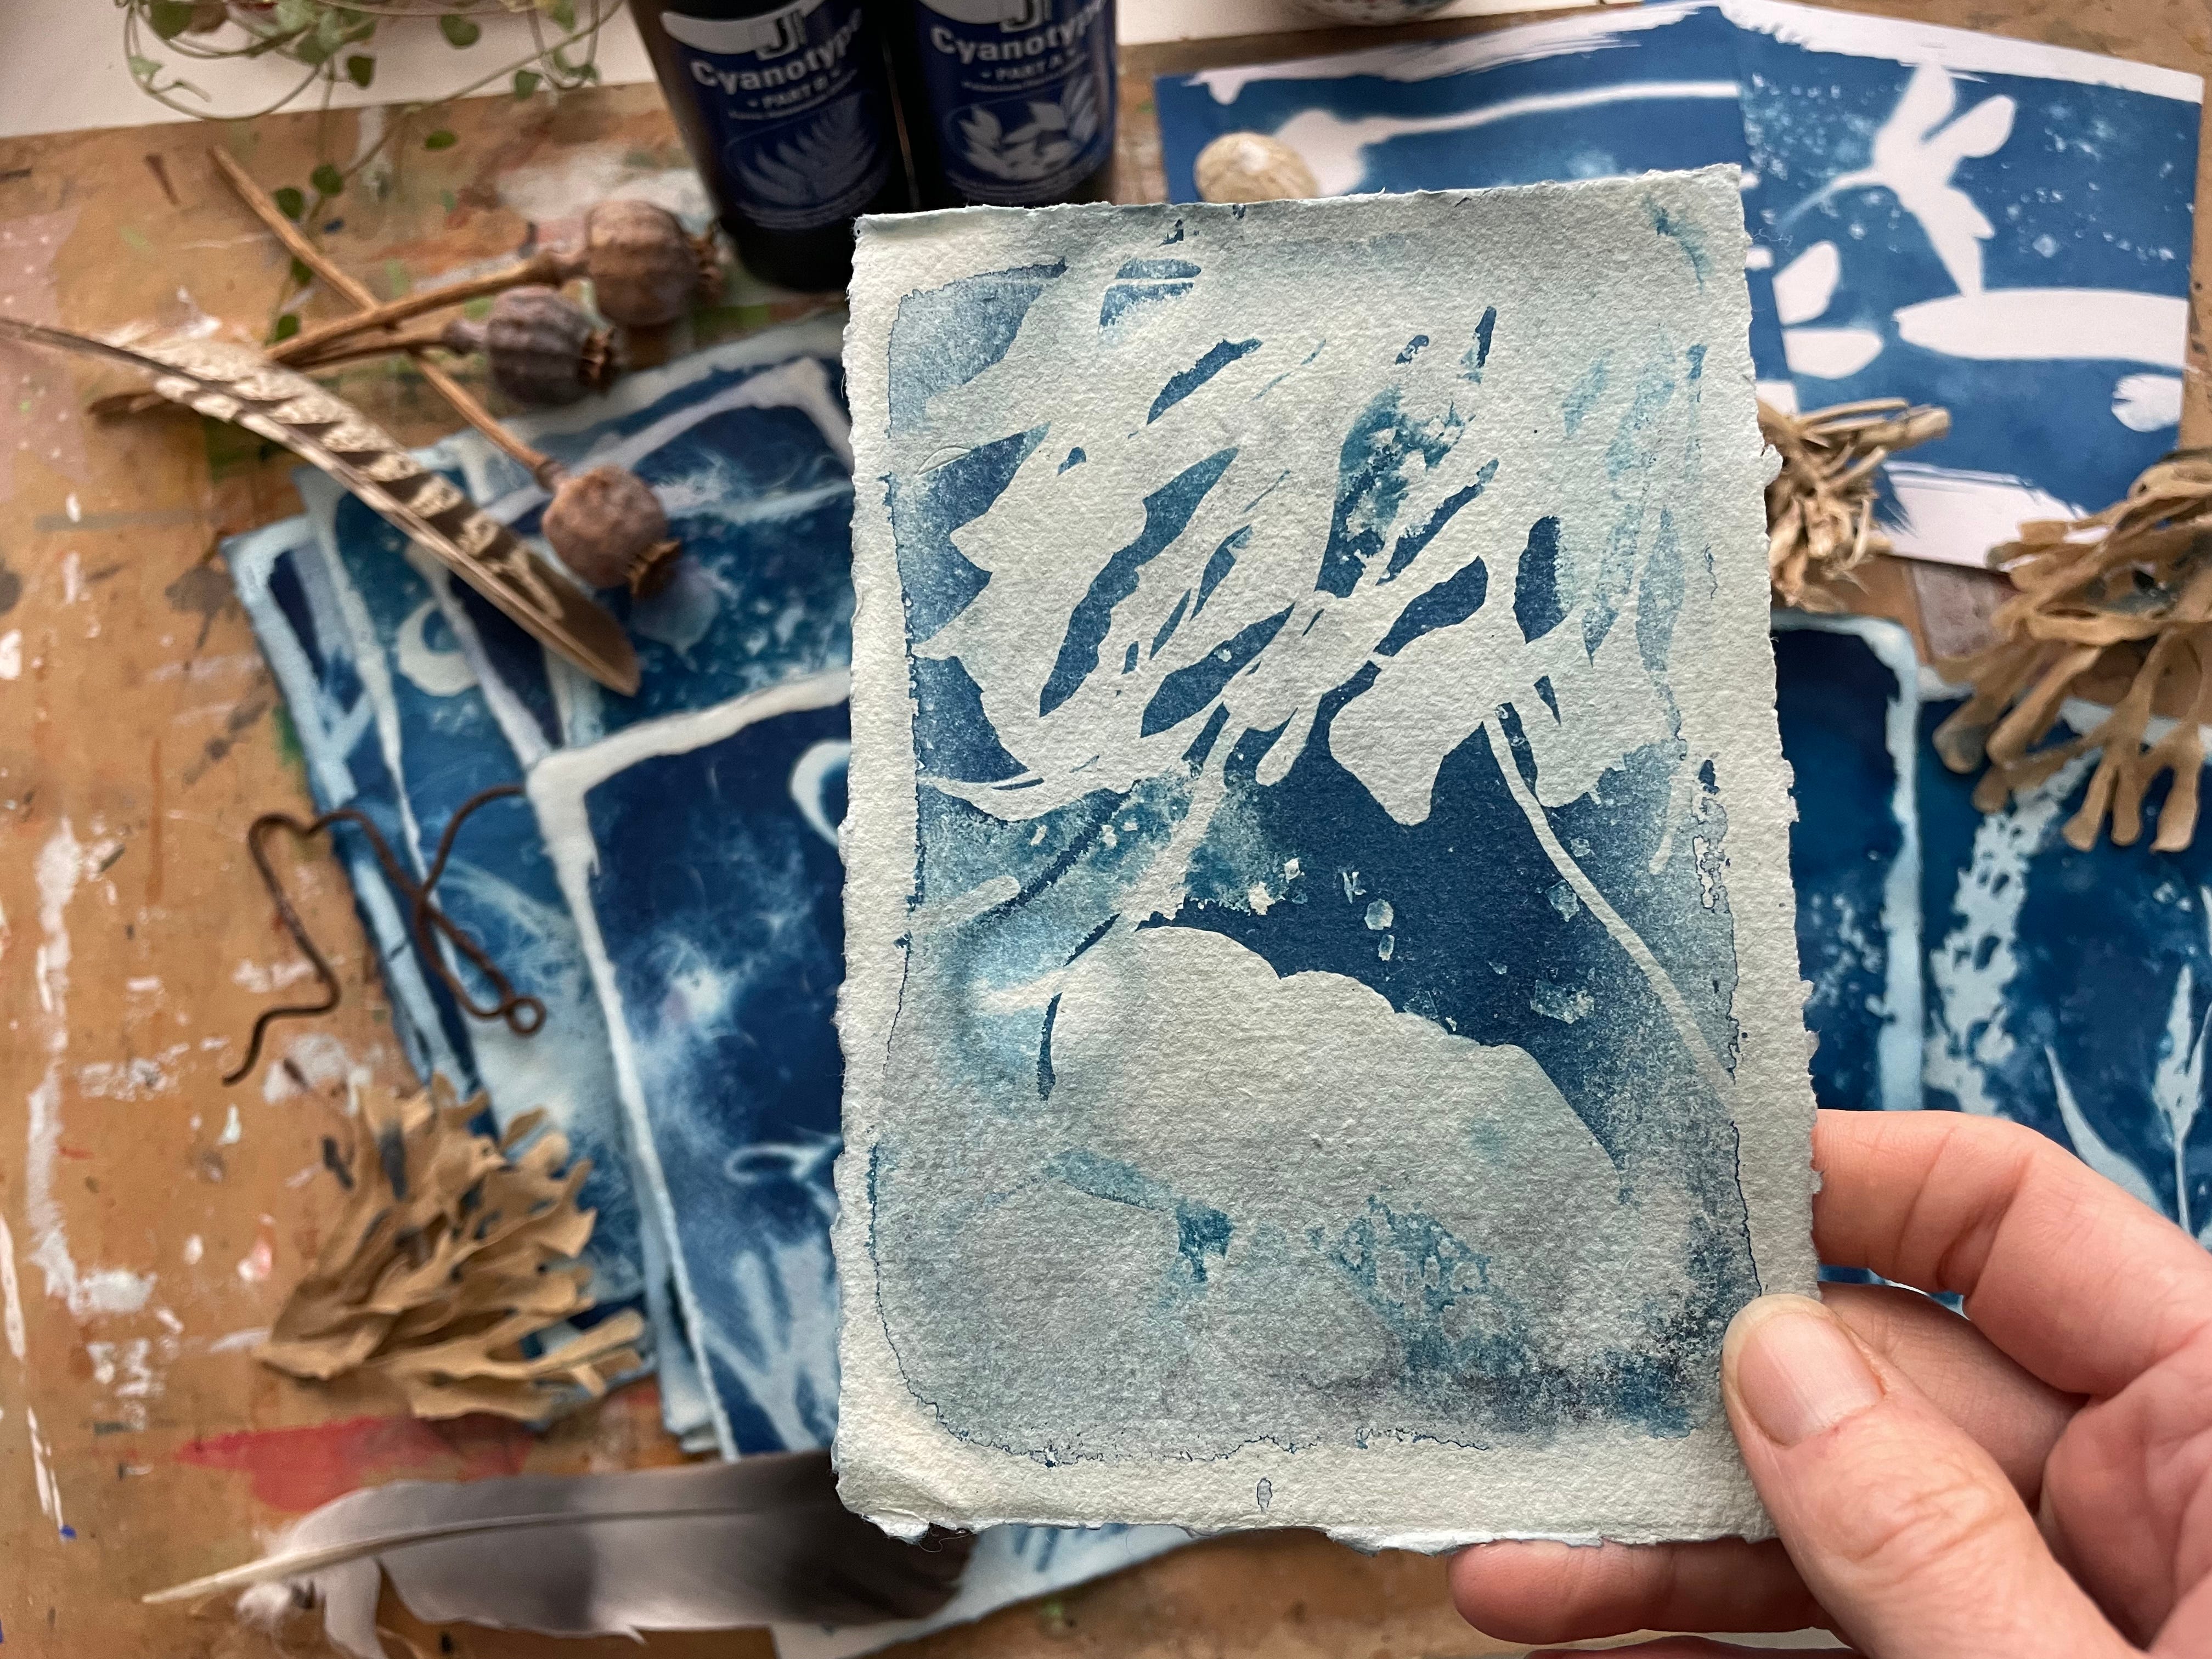
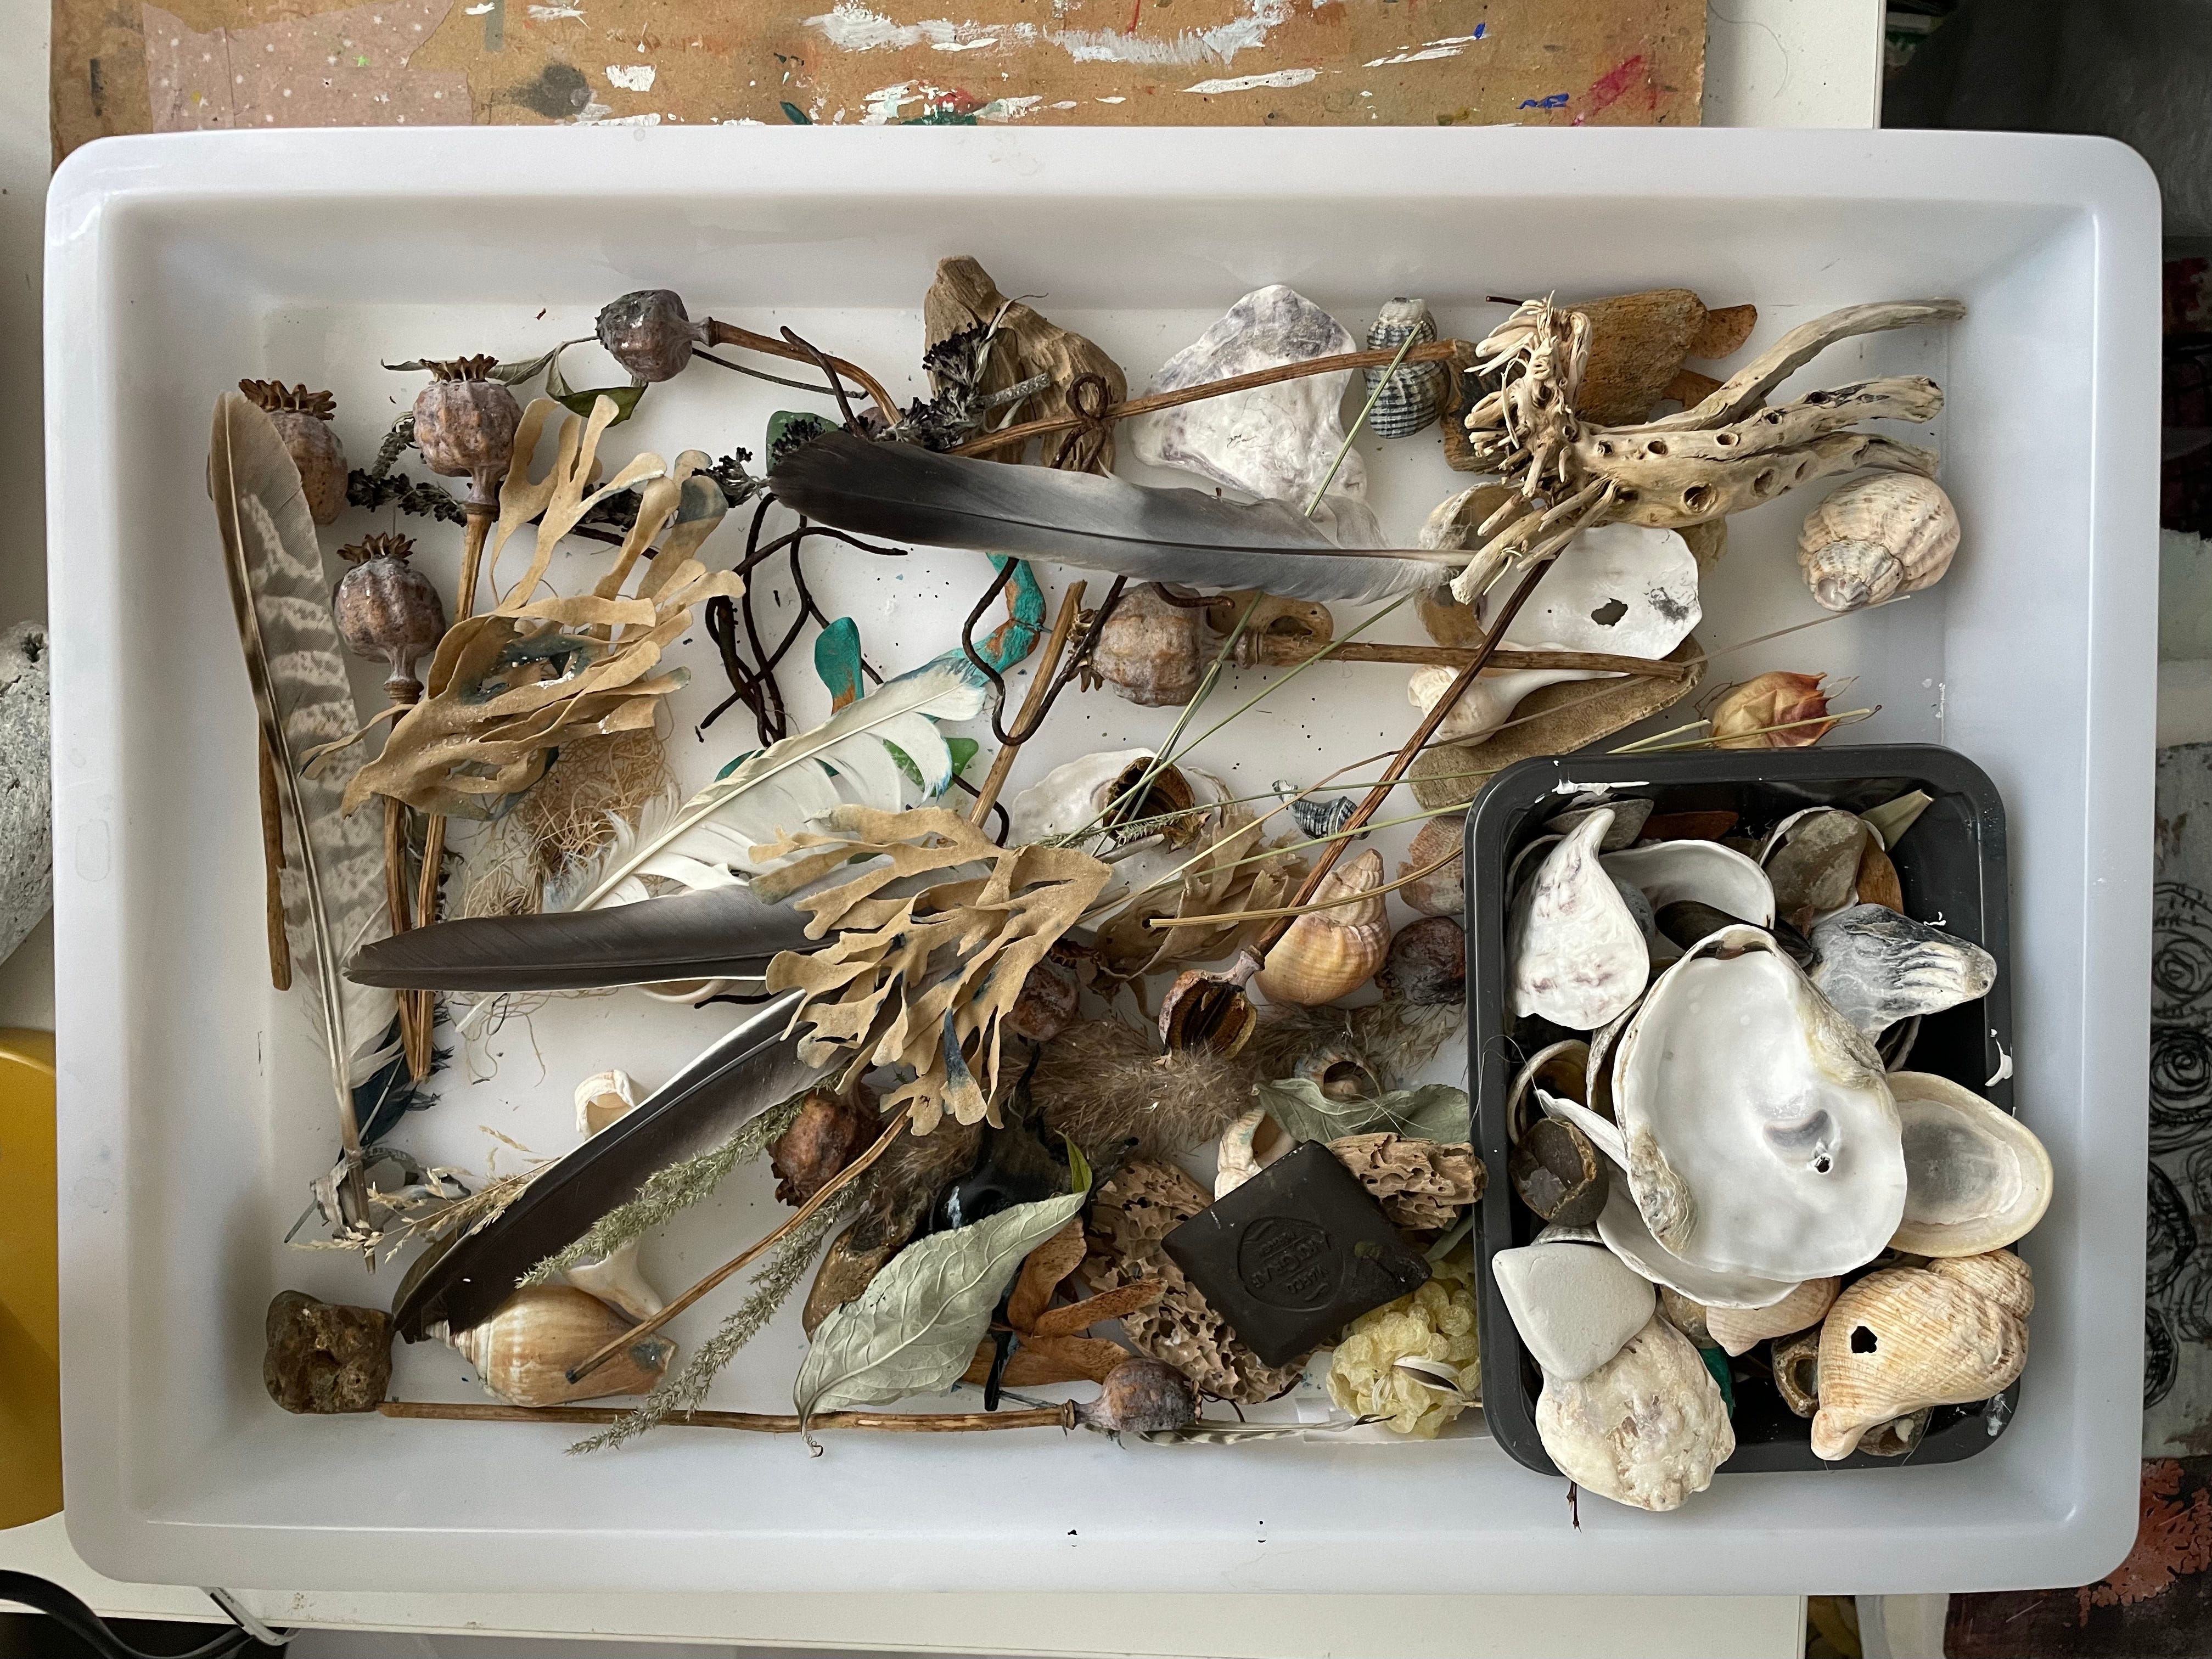
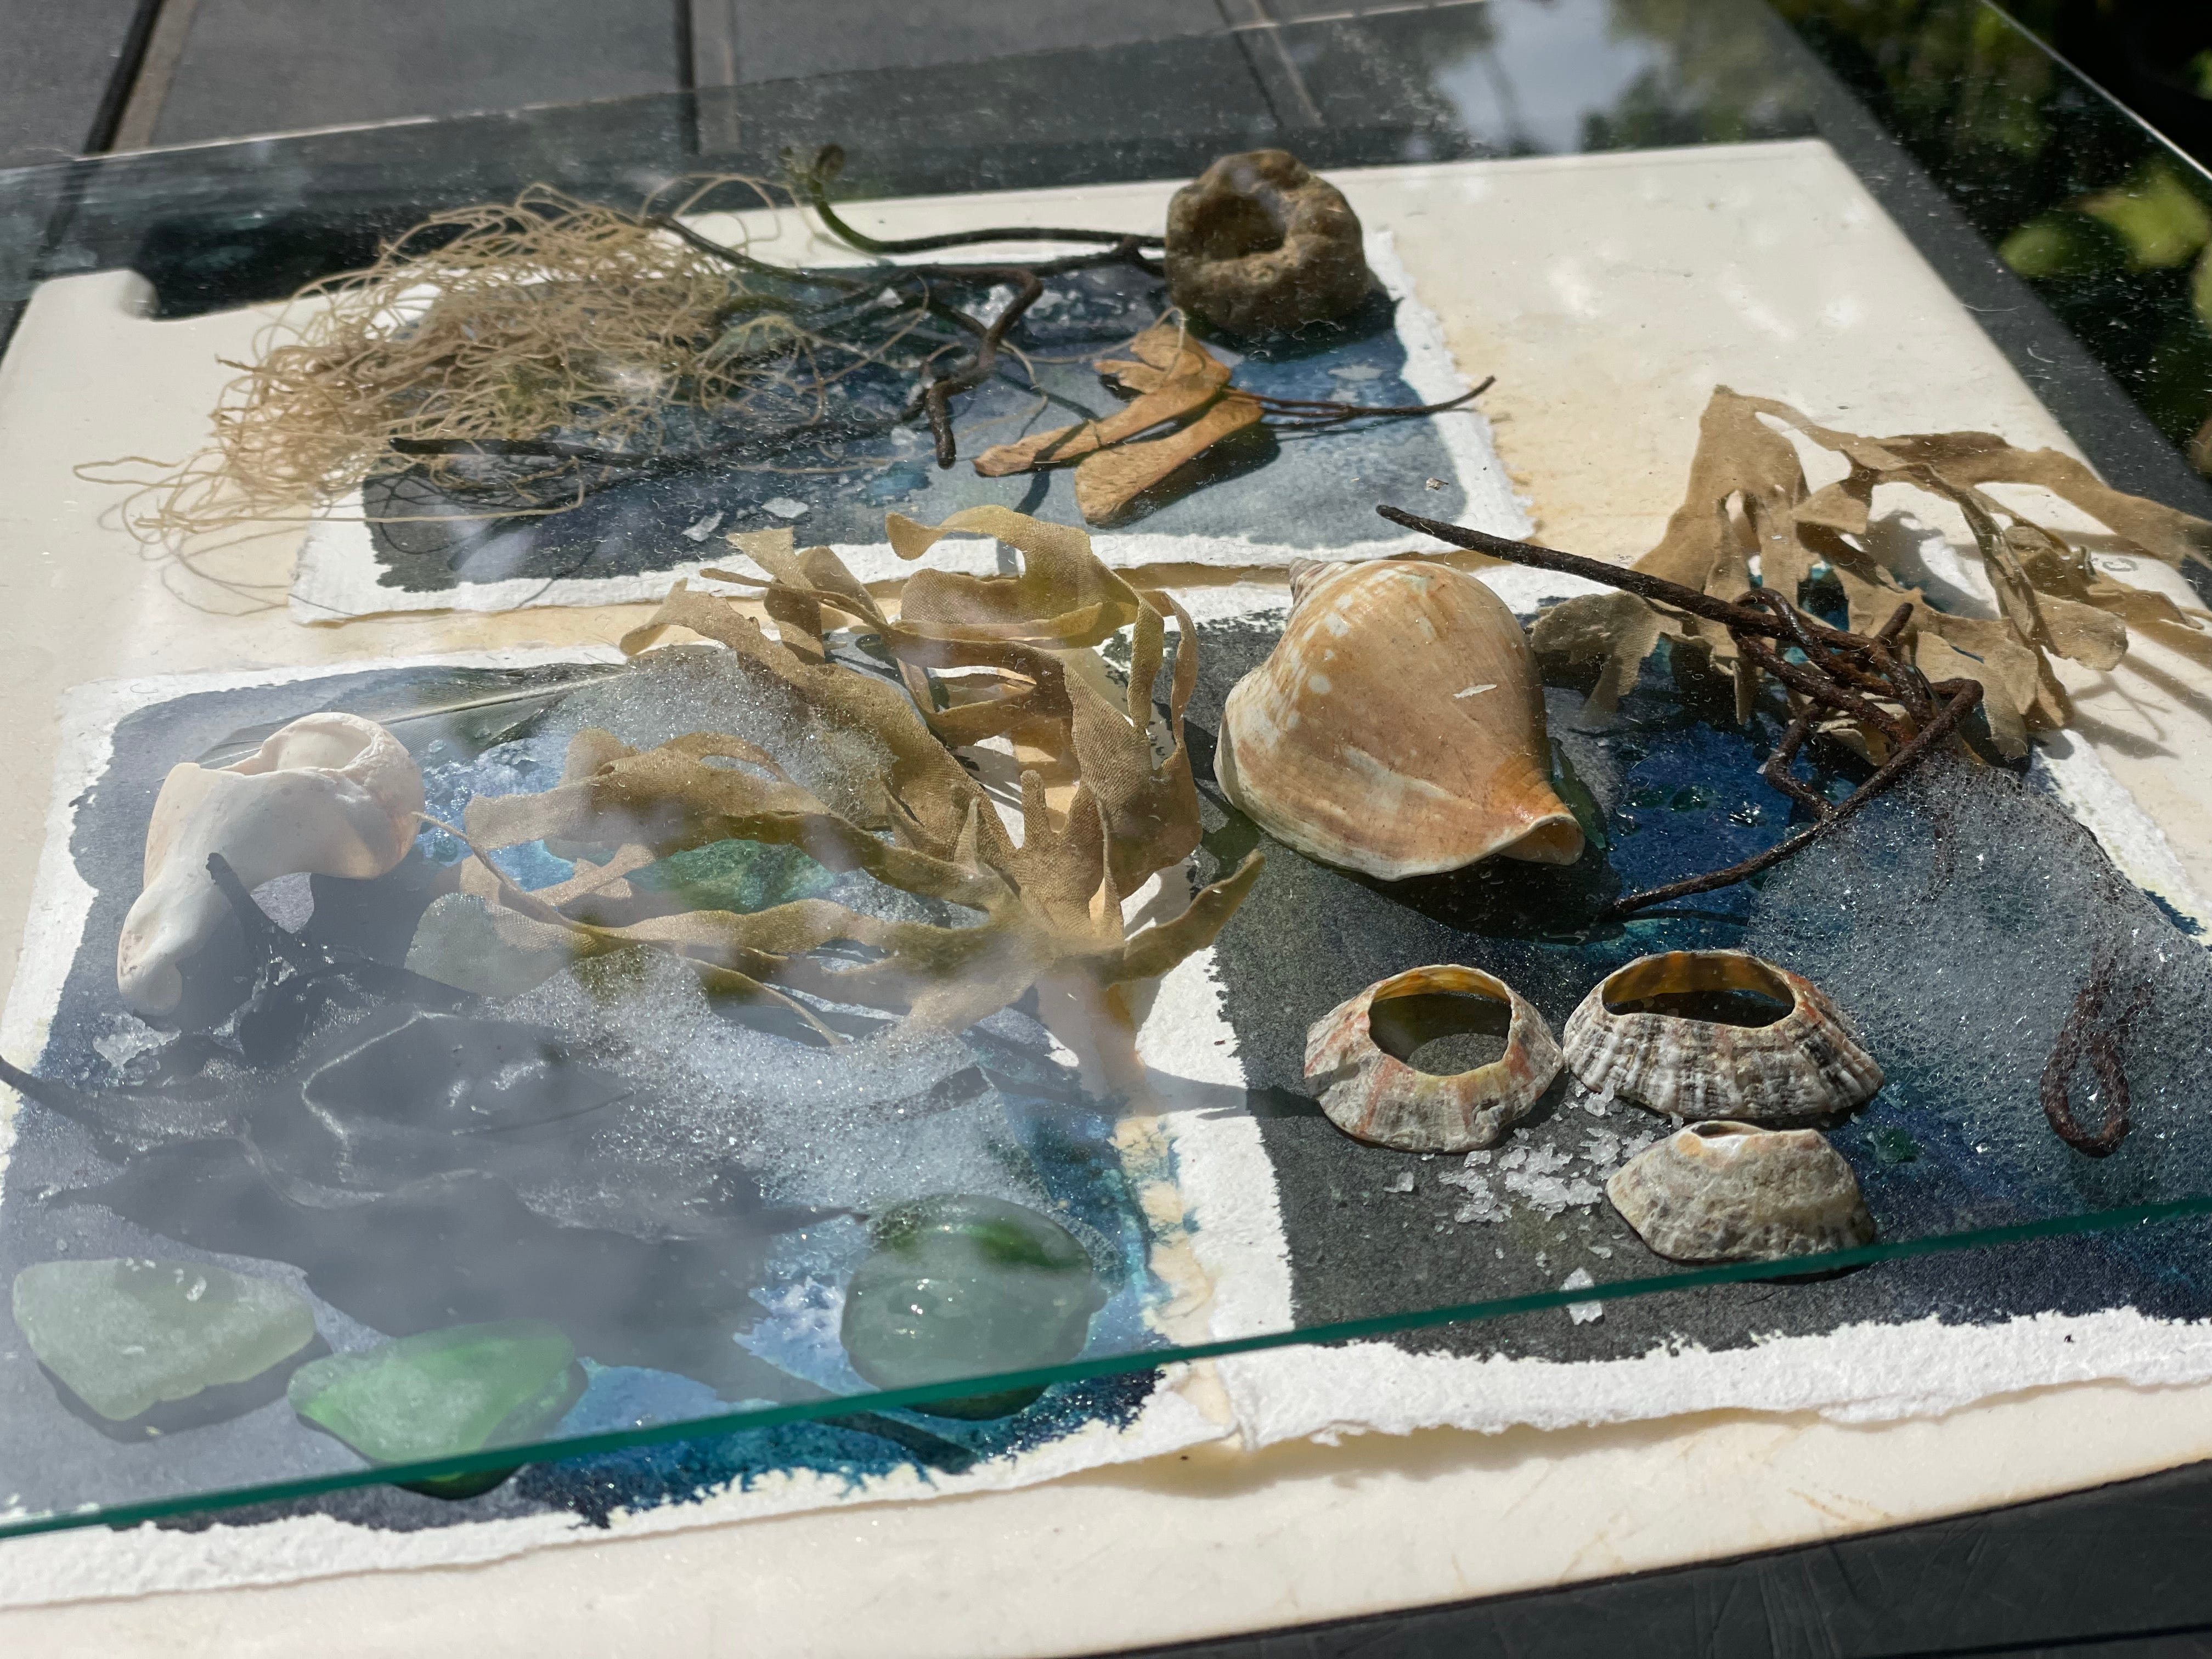
Next, I experimented with wet cyanotype techniques. I wanted to create beach-themed designs using beachcombed finds, such as shells, seaweed, fishing lines and more. My goal was to create a textured, altered look to the surface of the print, moving away from the crisp cyanotypes I had created with the passion flower.


To achieve this, I used three techniques to manipulate the dried chemical on the paper during sun exposure. I used a water sprayer to re-wet the chemical, then added rock salt to absorb the chemical and create textures on the surface, and added soap suds.
The bubbles were added to soften and distort the composition. These techniques altered the predictability of the outcomes, introducing a softness to the prints and often adding delicate textural details. While they didn’t always produce a successful, clear print, they imparted an underwater, salty sea, and wet, washy feel to the prints.
I hope you enjoyed seeing my cyanotype outcomes. The last two were printed on cards as experiments, and I’m happy to say they worked!
I hope you have enjoyed reading about my experience with cyanotype printing and feel inspired to give it a try yourself! Feel free to message me in the comments below with your ideas and thoughts - I’d love to read them. If you have already tried cyanotypes and have some tips to share, I’d love to hear those as well.
Thank you for following along! If you enjoyed this post or know someone who would appreciate it, please consider sharing and subscribing for future email notifications. Bye for now, Sarah x